Buying Fiber Cement Fascia Board is not simply a matter of choosing the thickest or cheapest product. The right decision depends on moisture exposure, roof design, local climate, installation details, and the board’s tested performance. A fascia board may look perfect in a showroom, yet fail early when water reaches an unsealed cut edge.
Building-science expert Joseph Lstiburek offers a useful warning: “Water is the problem.” That short sentence matters here. Before comparing brands, inspect the roofline, drip edge, soffit ventilation, and existing wood for swelling or decay. Ask whether the product is rated for exterior fascia use, not merely for siding. Confirm its thickness, fastening requirements, recommended clearances, and warranty conditions. Small details matter.
This guide presents ten practical tips for buying Fiber Cement Fascia Board with fewer costly surprises. It considers appearance, durability, cutting, painting, transportation, and installation labor. For example, a long board can crack when carried carelessly, especially near a driveway or scaffold. A dark finish may also absorb more heat than expected. These points are easy to overlook.
Some advice is not universal. A coastal home, a shaded woodland property, and a dry inland house face different risks. Product instructions should guide the final choice. Still, no checklist replaces careful judgment. Measure twice. Question vague claims. Choose a board that suits the building, not just the brochure.
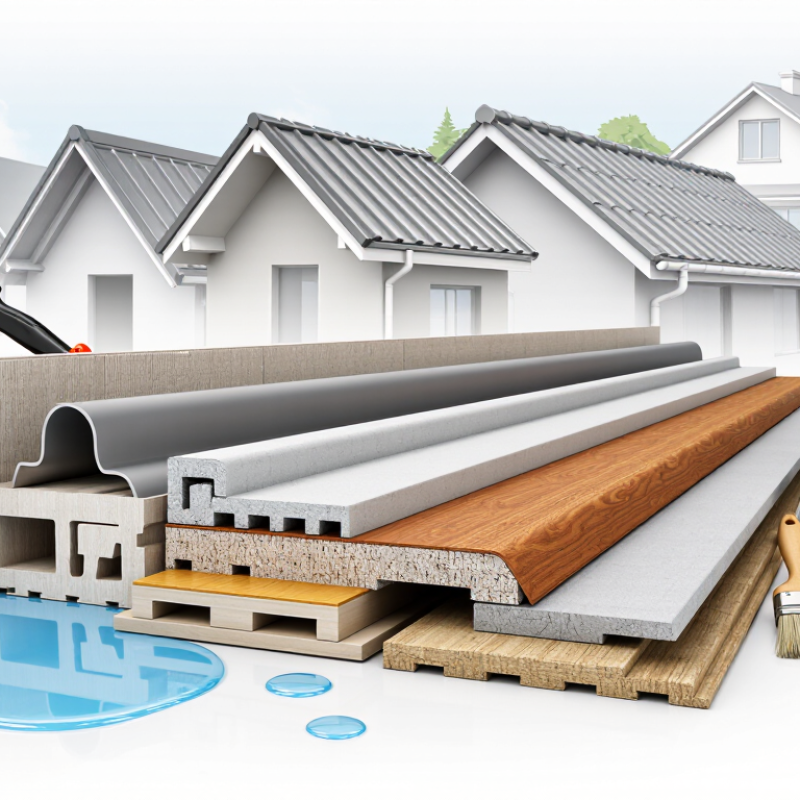
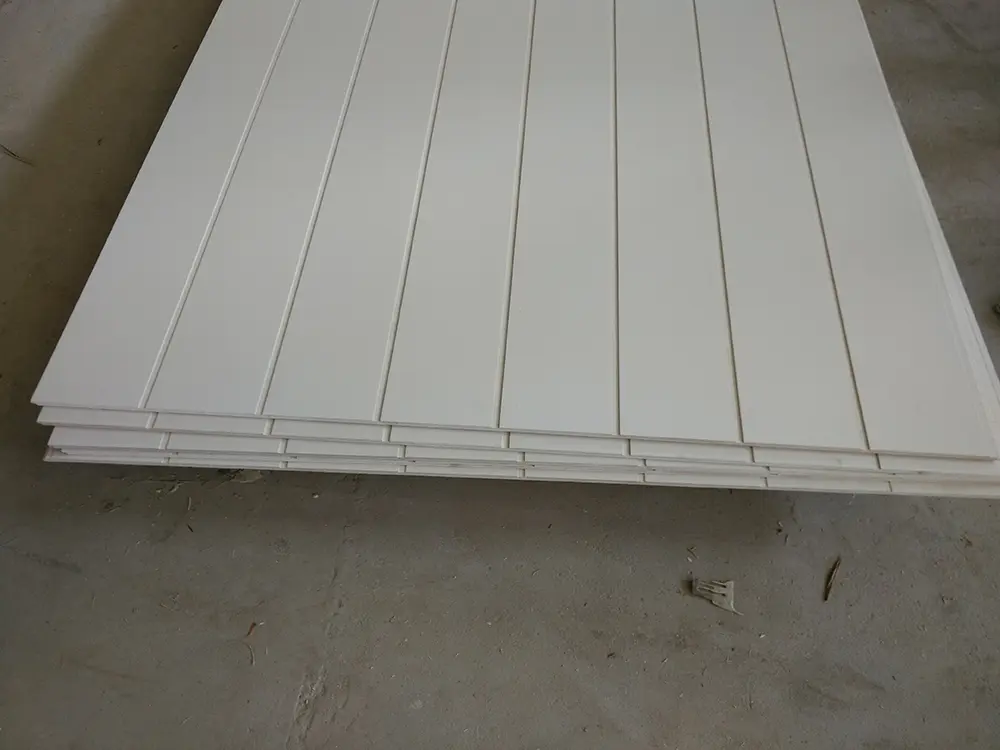
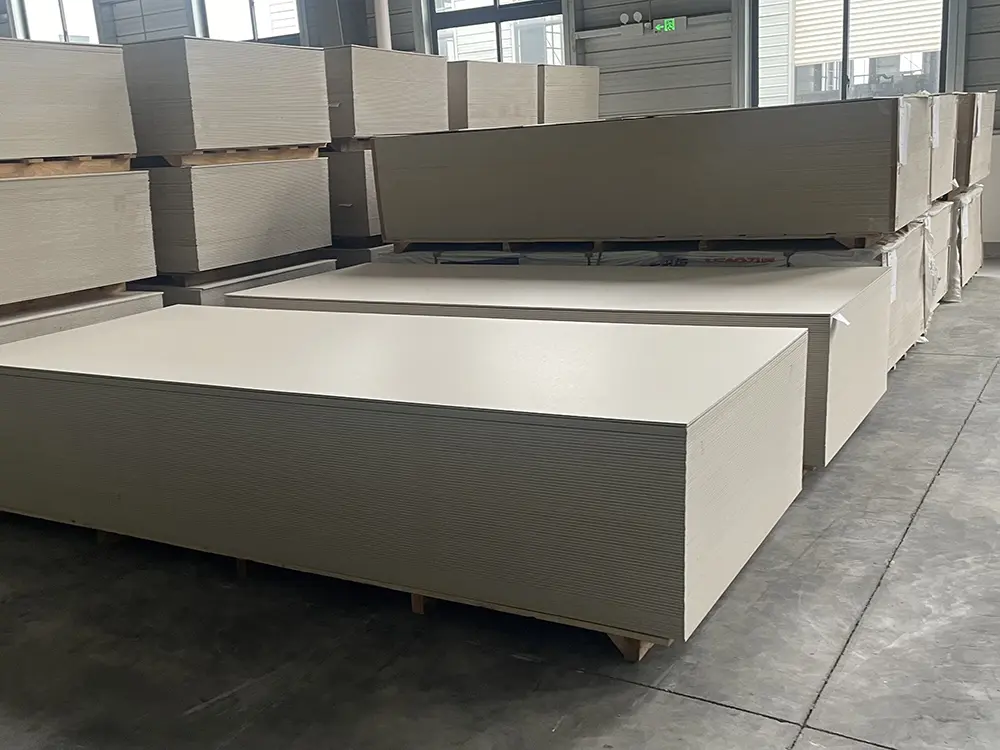
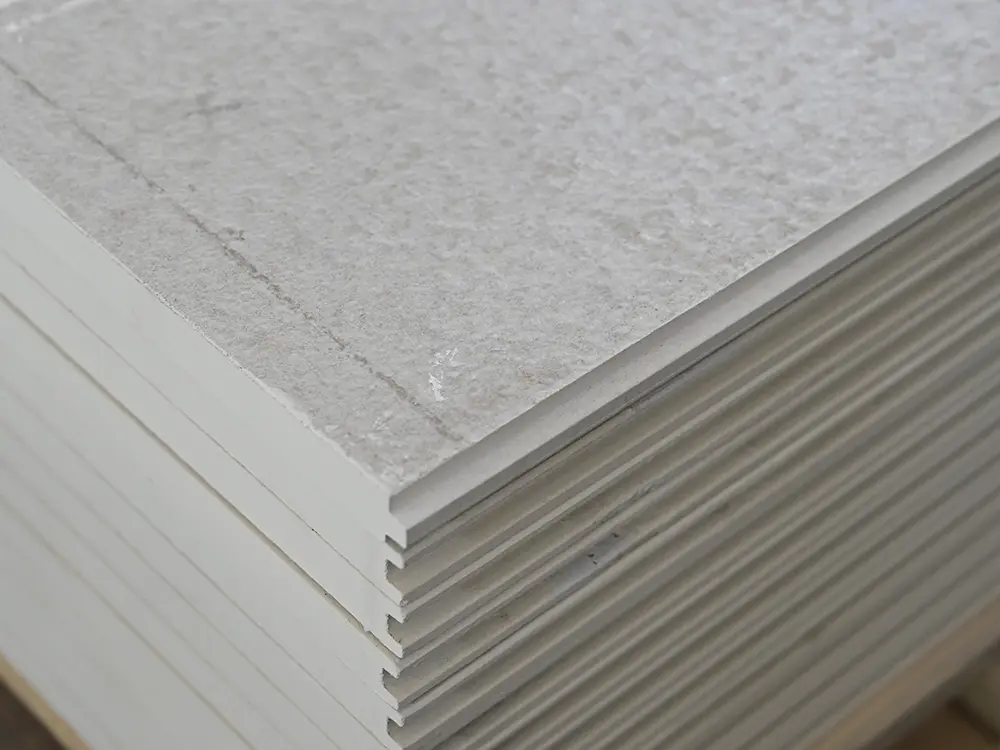
Fiber cement fascia board combines cement, cellulose fibers, and mineral materials. It offers a firm surface that resists moisture, insects, and everyday impact. Unlike untreated wood, it is less likely to rot when properly installed. Its stable profile also helps maintain clean roofline edges through seasonal changes. Still, no material is maintenance-free.
Tip: Check the board’s thickness and width against your roof design. A heavier board may need stronger support and more careful handling.
Before buying, inspect the product documentation for water resistance, fire performance, cutting guidance, and fastening requirements. Quality installation matters as much as the board itself. Cut edges usually need sealing, and exposed joints require suitable protection. Poorly sealed ends can absorb moisture over time. That detail is easy to miss.
Tip: Plan for ventilation behind the fascia. Blocked airflow may trap condensation near the roof structure.
Measure every run, including corners, returns, and waste from angled cuts. Choose fasteners that resist corrosion and match the supporting structure. Keep boards straight during storage, and avoid dragging them across rough ground.
I have found that small measurement errors become obvious near gutters and roof corners. Rechecking the layout is worthwhile, even when the project seems simple.
Tip: Ask a qualified installer to review unusual roof details. Local weather and building requirements can affect the correct installation method.
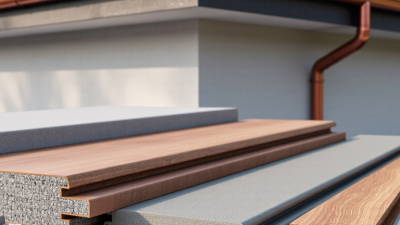
Buying fiber cement fascia board starts with the roofline, not the product label. Walk around the house during daylight and inspect every elevation. Use a tape measure. Record the exposed fascia height, thickness, and total length. Measure each elevation separately. Look for sagging, soft timber, peeling paint, water stains, and loose gutter brackets. Fiber cement can cover a surface, but it cannot repair a weak roof edge.
Compare your measurements with available board dimensions. Choose a width that covers the fascia face without blocking soffit vents or changing the gutter position. Allow for clean joints over solid supports, corner cuts, and small installation clearances. Roof pitch also affects angled cuts and the way boards meet at gable ends. Small errors multiply. A single measurement can mislead, especially on older homes with uneven eaves.
Check the drip edge, flashing, ventilation openings, and rafter tails before ordering. A wider board may look attractive, yet it can hide airflow paths or interfere with gutter alignment. Test one short piece at a corner before cutting the full run. This simple step often reveals an overlooked shadow line or trim mismatch. Do not force a board against warped backing. Repair the substrate first, then confirm the final dimensions with an experienced installer and applicable local requirements. My own preference is to recheck every figure after removing the old fascia; the exposed structure sometimes tells a different story.
When buying fiber cement fascia board, compare durability before color or price. Dense fiber cement resists rot, insects, and flame better than many wood-based alternatives. However, it can crack when carried carelessly. I have seen damaged corners appear before installation. Inspect every board for chips, bowing, and exposed fibers. Check its thickness, length, edge profile, and documented fastener requirements. A heavier board is not automatically better.
Weather resistance depends on more than the material itself. Look for products tested for moisture, freeze-thaw cycles, ultraviolet exposure, and wind-driven rain. Sealed cut ends matter, especially near roof edges and joints. Confirm that the installation guide specifies flashing, ventilation, clearance, and compatible paint. Poor drainage can defeat a durable board. Coastal air may demand more frequent inspections because salt and moisture attack fittings and exposed cuts.
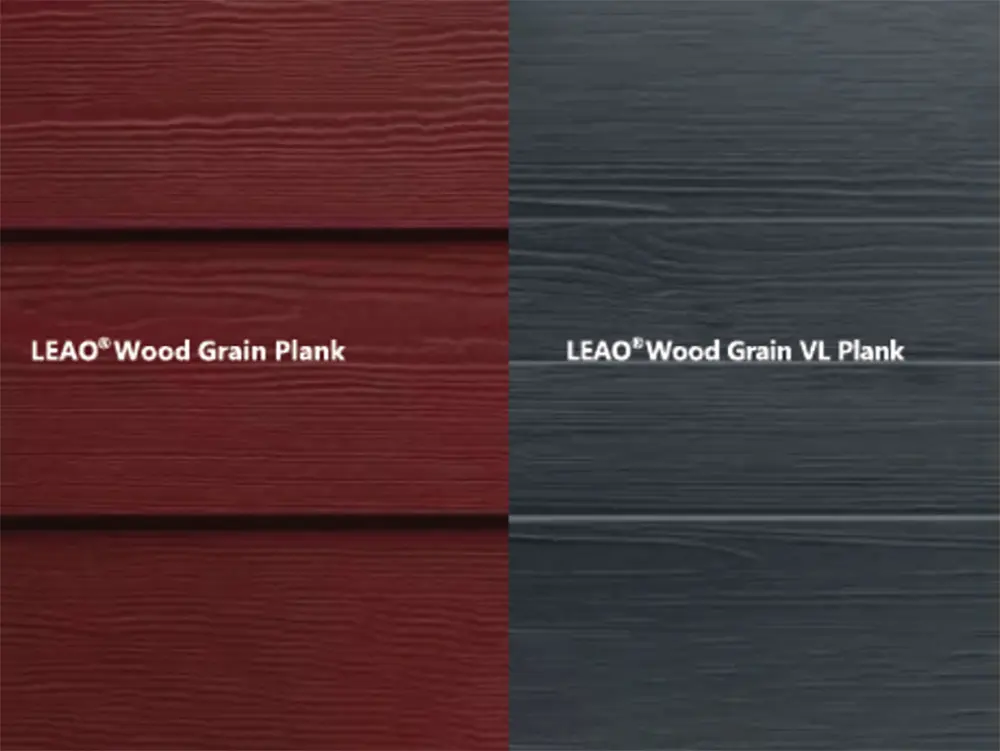
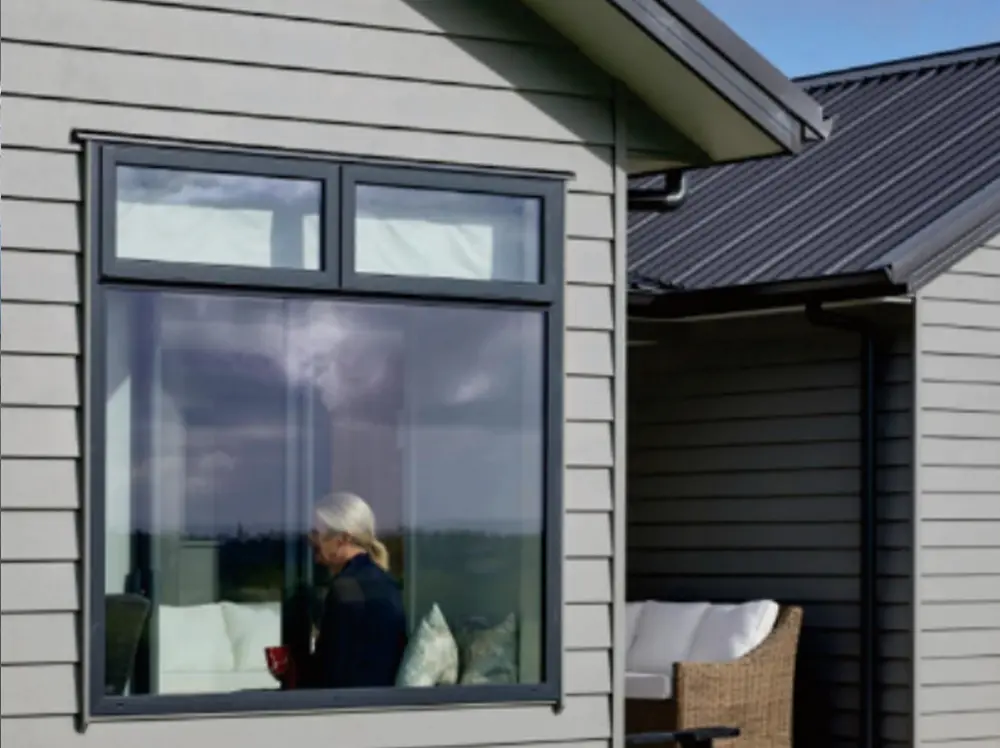
Surface finishes affect maintenance and appearance. Factory-applied coatings usually provide more consistent coverage than field painting, but they may cost more. Smooth finishes create a clean, modern line and reveal dust quickly. Wood-grain textures hide small marks, though their grooves can hold dirt. Review the coating warranty carefully; it may exclude unsealed cuts or incorrect installation. Choose a finish that matches your maintenance habits, not only a showroom sample. I once underestimated how visible roof shadows would become on a dark fascia. A small sample viewed outdoors can prevent that mistake.
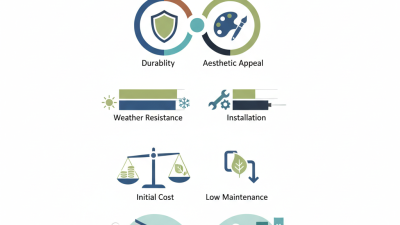
Fiber cement fascia is noncombustible, resistant to rot and insects, and generally performs well in wet and high-UV conditions. Factory-applied primers and smooth or wood-grain finishes can improve coating consistency, while field-painted boards require careful edge sealing and regular inspection. The scores below are comparative planning values based on common fiber cement performance characteristics; always confirm local code requirements, installation details, warranty terms, and coating specifications before purchasing.
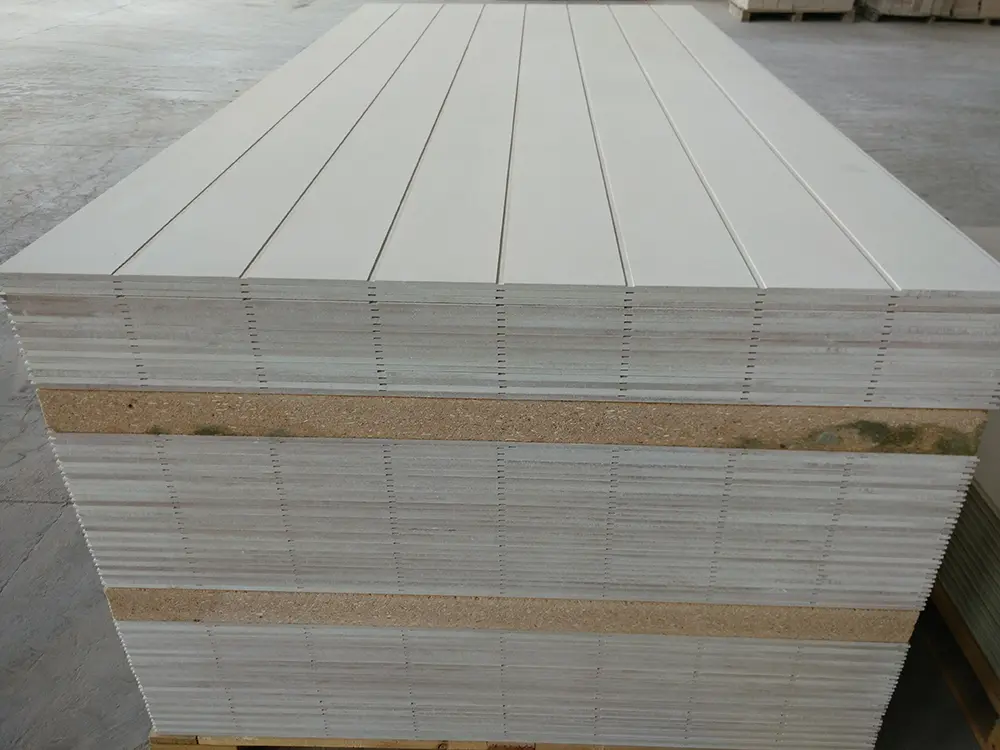
Buying fiber cement fascia board requires more than comparing thickness and price. Product quality often appears in small details: even edges, consistent density, clean cuts, and straight boards without swollen corners. Ask for a technical data sheet showing water absorption, flexural strength, fire performance, and recommended fasteners. A sample should survive careful handling without excessive cracking. It is not a laboratory test, but it can expose careless manufacturing.
Tip 1: Check certifications and test reports. Confirm that documents apply to the exact product, thickness, and production site. Look for recognized testing bodies, current issue dates, and clear standard references. Do not accept a certificate image without verification. I once overlooked an outdated report, and the mistake complicated a project inspection.
Tip 2: Read the warranty line by line. Check coverage for cracking, delamination, moisture damage, color changes, and installation errors. Note the required storage, cutting, sealing, and fixing methods. A long warranty means little if exclusions are unclear. Ask who handles claims and what evidence is required.
Tip 3: Test supplier reliability before ordering. Request lead times, batch consistency records, packaging details, and replacement procedures. Reliable suppliers answer technical questions precisely and provide traceable invoices and shipping documents. Call a recent customer if possible. One honest reference can reveal more than polished sales material. Allow extra stock for damaged cuts; site conditions are rarely perfect.
Buying Fiber Cement Fascia Board: Estimating Costs and Planning Proper Installation and Maintenance
Measure every roof edge twice, including returns, joints, and gable ends. Add 10% for cuts, damage, and future repairs. I once underestimated a short gable section; the extra trip cost more than the missing boards. Compare at least three written bids, separating materials, labor, disposal, flashing, and painting. Local labor often changes the final price more than the board itself. The 2024 Cost vs. Value Report estimated an average fiber-cement siding replacement at $20,619, with about 83.1% recovered at resale. Fascia costs will differ, but the figure helps frame renovation expectations.
Plan installation around drainage, not appearance alone. Confirm the roof edge is sound, keep board ends away from standing water, and use corrosion-resistant fasteners. Seal appropriate joints, protect cut edges, and install metal flashing where water may collect. Follow local building codes and the product’s installation instructions. The Building America Solution Center identifies flashing, drainage planes, and correct clearances as essential moisture-control details. Small gaps matter. Poor alignment can expose framing within one season. Inspect the fascia each spring for swelling, cracking, loose fasteners, insect activity, and peeling paint. Clean gently with water and a soft brush; avoid aggressive pressure washing. Keep gutters clear, because overflowing water can shorten the board’s service life. Retain receipts, measurements, color records, and repair dates. Maintenance records support better decisions, although they rarely prevent every mistake.
A practical planning guide using typical residential project ranges in the United States. Actual costs vary by location, access, board dimensions, finish, waste, and labor conditions.
| Tip | What to Check Before Buying | Typical Material Estimate | Installation Planning | Maintenance Requirement | Potential Cost Impact |
|---|---|---|---|---|---|
| 1. Measure the fascia accurately | Measure every roof edge, include return sections, and add extra length for cuts and damaged areas. A waste allowance of approximately 10% is commonly used. | $2–$6 per linear foot | Record total linear footage and identify sections requiring splices, corners, or special cuts before ordering. | Recheck exposed joints and edges during annual exterior inspections. | Incorrect measurements can cause rush orders, extra delivery charges, or material waste. |
| 2. Select the correct board thickness | Common fiber cement fascia thicknesses are approximately 5/16 to 1/2 inch. Choose a thickness suitable for the roof edge, framing, and local weather conditions. | $2.50–$7 per linear foot | Confirm that the thickness aligns with existing trim, soffit panels, drip edges, and gutters. | Thicker boards generally require less frequent replacement when properly supported. | Thicker or custom-profile boards may increase material cost by 15%–40%. |
| 3. Confirm the board profile and dimensions | Verify face width, length, edge shape, and whether the board is smooth or textured. Typical fascia widths are about 6–12 inches. | $2–$8 per linear foot | Use matching dimensions at transitions to avoid uneven joints and visible gaps. | Inspect profile transitions for cracking, swelling, or movement. | Non-standard sizes may add cutting time and increase labor by approximately 10%–25%. |
| 4. Budget for labor and access | Separate material, labor, disposal, equipment, and paint costs when comparing estimates. | $6–$15 per linear foot installed | Single-story work is usually easier; two-story elevations, steep roofs, and difficult access may require scaffolding or lifts. | Professional installation can reduce future repair frequency when joints and fasteners are installed correctly. | Total installed costs commonly range from $8–$20 per linear foot, depending on site conditions. |
| 5. Plan for proper cutting and safety | Fiber cement creates respirable dust when cut. Confirm that installers use manufacturer-approved dust controls, suitable respirators, eye protection, and safe cutting methods. | $50–$250 for basic cutting and safety supplies | Allow additional setup time for dust-managed cutting, protected work areas, and safe material handling. | Clean dust from nearby surfaces after installation without using methods that spread airborne particles. | Safety equipment and controlled cutting may add a modest setup charge but reduce health and cleanup risks. |
| 6. Inspect the substrate before installation | Check the rafter tails, subfascia, roof edge, and existing moisture damage before covering them. | $2–$8 per linear foot for minor repairs | Replace rotten or unstable wood and correct roof drainage problems before fastening the new fascia. | Keep gutters secure and inspect the wood behind joints whenever water damage is suspected. | Extensive substrate repairs can add $500–$2,000 or more to a residential project. |
| 7. Use compatible fasteners and spacing | Fasteners should be corrosion-resistant and appropriate for fiber cement and the supporting framing. | $0.20–$0.60 per linear foot for fasteners | Follow the product installation requirements for edge distances, stud or rafter alignment, joint placement, and face fastening. | Check for loose, rusted, or protruding fasteners during routine inspections. | Incorrect fastening can lead to cracking, loose boards, and premature replacement. |
| 8. Detail joints, corners, and water management | Plan butt joints, corner transitions, flashing, drip edges, and clearances from roofs and horizontal surfaces. | $1–$4 per linear foot for flashing and sealants | Keep joints properly supported and sealed where required, while preserving drainage paths behind the trim. | Inspect sealant and flashing at least once a year and after severe storms. | Additional flashing and sealant typically add 5%–15% to the trim installation budget. |
| 9. Decide between primed and pre-finished boards | Compare factory-applied finishes with field painting, including color availability, touch-up requirements, and repainting intervals. | $1–$4 per linear foot for painting materials and labor | Prime or seal field-cut ends according to the product requirements before installation or final coating. | Wash gently as needed and repaint when the coating fades, chalks, or begins to deteriorate. | Professional painting may add $300–$1,200, depending on project size and access. |
| 10. Plan a long-term inspection schedule | Keep installation records, paint details, leftover boards, and photographs of concealed flashing and joints. | $0–$300 annually for routine upkeep | Schedule a visual inspection each year and address small cracks, open joints, damaged coatings, or drainage issues promptly. | Routine cleaning is usually low-cost; repainting may be needed approximately every 7–15 years depending on exposure and coating quality. | Early repairs can prevent larger moisture-related trim and framing costs. |
Cost figures are planning ranges in U.S. dollars and should not be treated as a formal quote. Always verify local building requirements and the current installation instructions for the selected fiber cement product.